Working with Notebooks
Contents
Working with Notebooks#
When you first connect to our Jupyter Hub, choose a new password and remember it. You will then see a page that looks like the following:
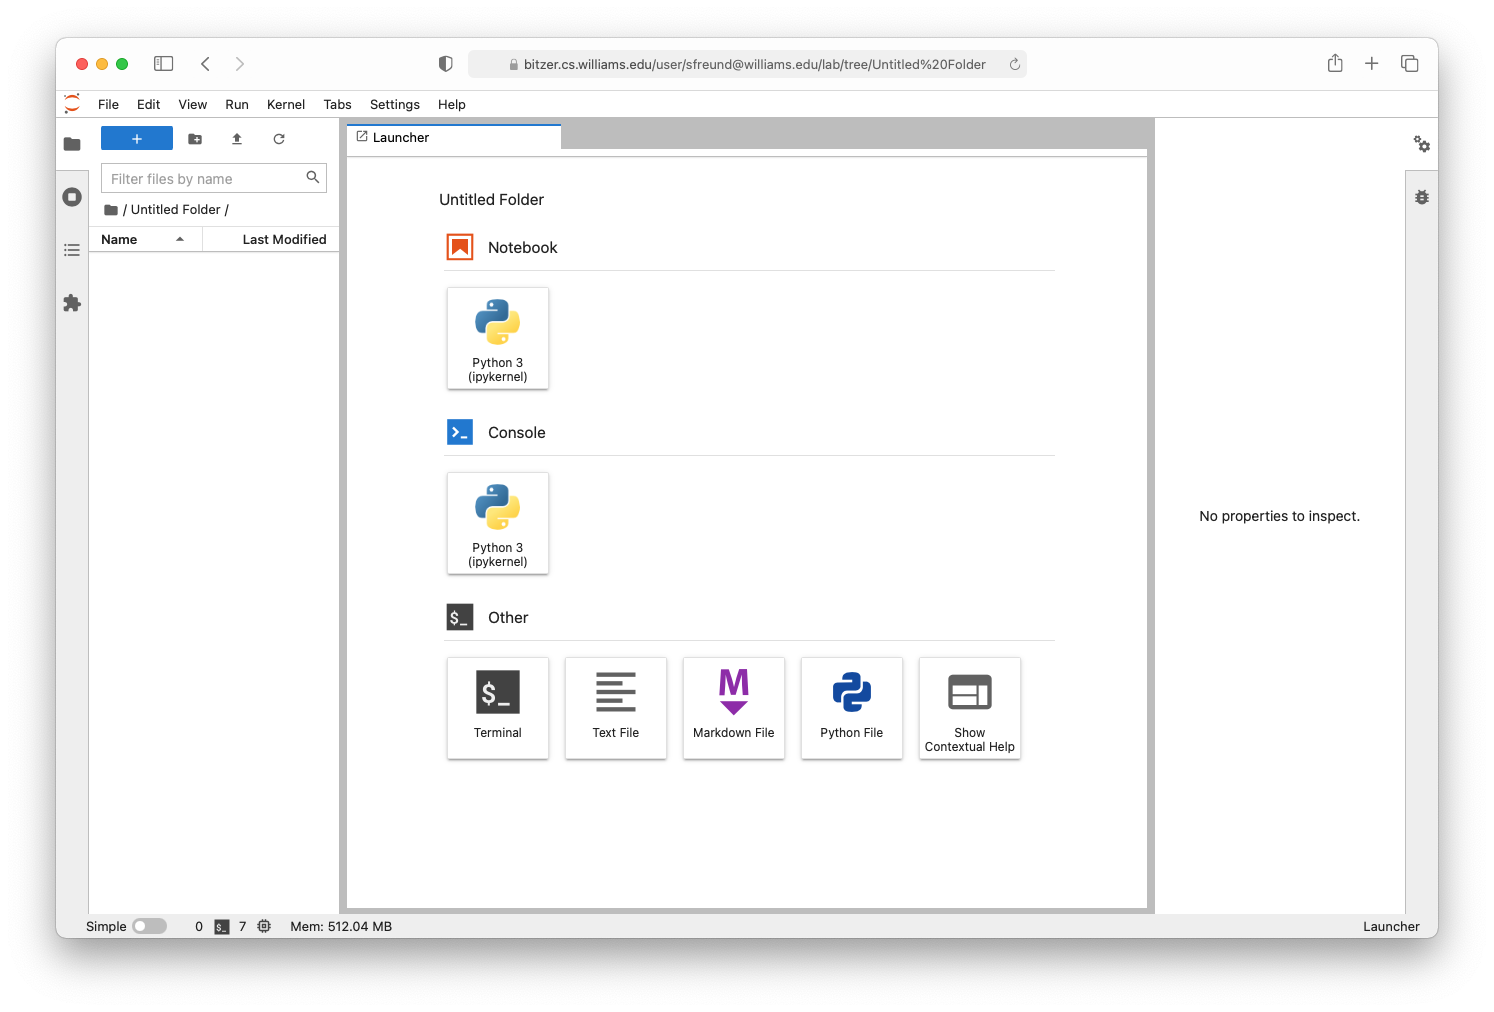
The window is divided into three panels:
The center panel enables you to create new notebooks for writing code.
The left panel shows your files on the server. All of your work will be stored there. You can navigate to and launch existing notebooks through this panel.
The right panel shows various properties of files you edit, but we won’t really do much with that. You can hide it by clicking the little gear icon in the top right corner of that panel.
Editing and Running a Notebook#
Most of the time, we will provide you with Notebooks for your assignments, but you can also create notebooks on your own:
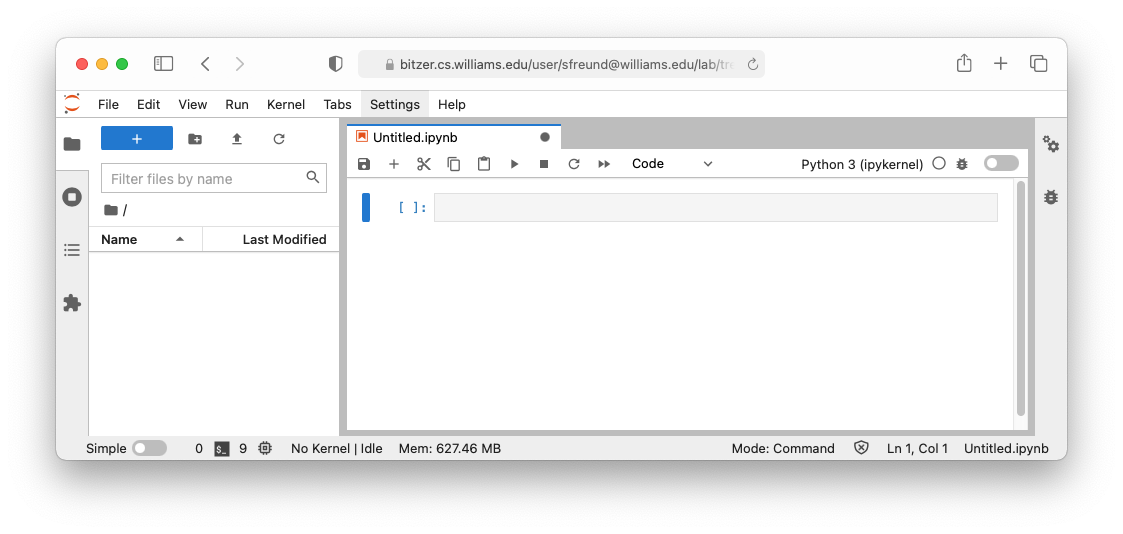
Create a new notebook by clicking the “Python 3” button under Notebook in the Launcher window, or by selecting File -> New -> Notebook from the menubar. If Jupyter asks you to select the kernel, choose “Python 3 (ipykernel)”. A new tab should open up with a blank input cell:
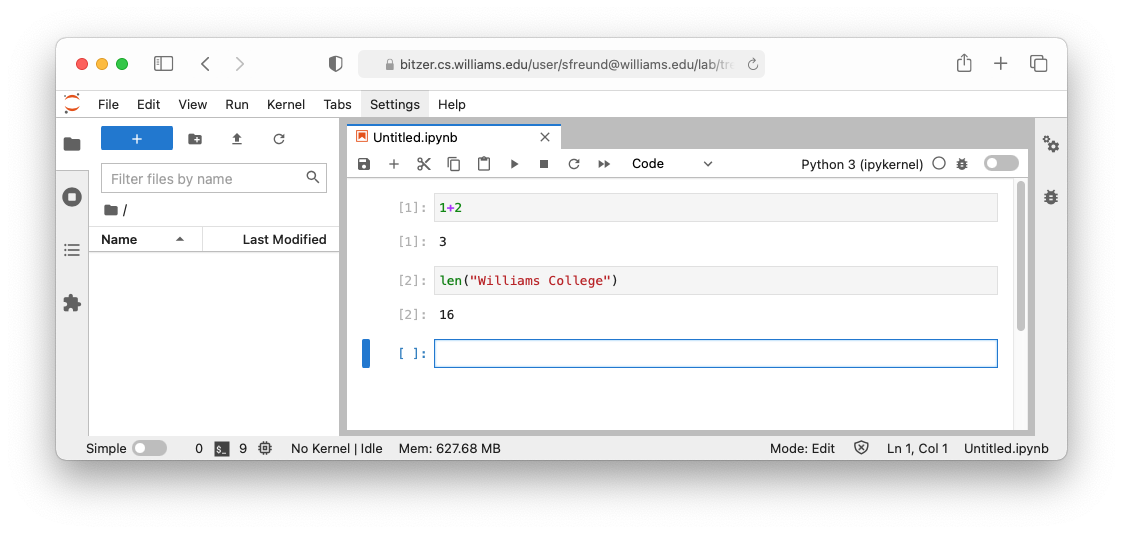
You can now type in snippets of Python code in the
[ ]cell. For example, try typing1+2:

To run this code, select the cell (clicking on it will select it as seen by the blue highlight) and selected Run -> Run Selected Cells from the menubar. The keyboard shortcut to run cells is Shift+Enter (Mac) or Shift+Return (Windows). You should now see the output directly below with the label
[1].
A new cell for more input should have appeared below the output line. You can always insert more cells by clicking the “+” in the toolbar at the top of the notebook tab. Type in some more python code and run it:
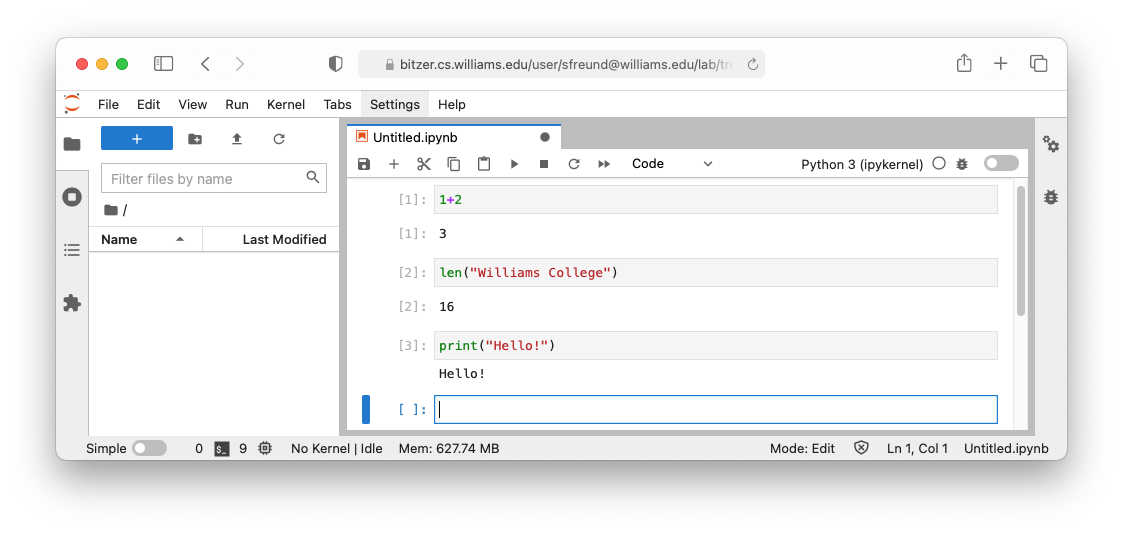
When we “run the cell,” a number appears in the brackets to indicate that:
the command has been executed, and
the number n indicates that it is the nth command executed in the current session.
In most cases, you can ignore this number. The output
[n]cell of the notebook gives the resulting output.
Jupyter notebooks allow you to add rich notes along with examples. For example, you can change the “Cell Type” from Code to Markdown in the toolbar at the top of the tab to add Markdown-styled text.
Data Science Packages#
In CS 104, we will always import a number of libraries for managing, analyzing, and displaying data. We do this by adding a cell with the following lines to the top of each notebook. They will be present in the notebooks we provide, and you should add them to any notebooks you create on your own.
# These lines import the Numpy, Datascience, and CS104 libraries.
from datascience import *
from cs104 import *
import numpy as np
%matplotlib inline
Saving Your Notebook#
When you are done, you can save the notebook by selecting File -> Save Notebook or File -> Save Notebook As… from the menubar. Note that if you are working on our sever, the notebook is stored there, not on your local computer. Selecting File -> Download from the menubar will let you download a copy of the file from our server to your own machine.
Quitting#
To quit, select File -> Logout inside Jupyter, or simply close the browser tab you are using.