Set Up Your Windows PC
Throughout the semester, you should prioritize using the computers (in TCL 217A and TCL 216) to work on your lab assignments. All the utilities you need have already been installed on them, and they have been set up so students do not face any platform-dependent issues. However, you may also work on your personal computer and, indeed, must do so during the first week.
This document gives you instructions on how to set up your personal Windows computer.
If you face any problems, please reach out to the CSCI 134 staff before your first lab is due.
Note
Each person’s computer is different, and while these instructions work for most of them, there will inevitably be some unique issues and quirks that you may experience and learn how to workaround. If you encounter any such issues, please drop us a note.
Step 0. Verify Windows version
You must Windows 10 or later installed. If you have an older version, you need to upgrade it (for free).
Step 1. Turn On the Windows Subsystem for Linux
Windows computers do not use a Unix-based operating system by default. However, we can turn on a feature that allows us to use a Linux terminal on Windows.
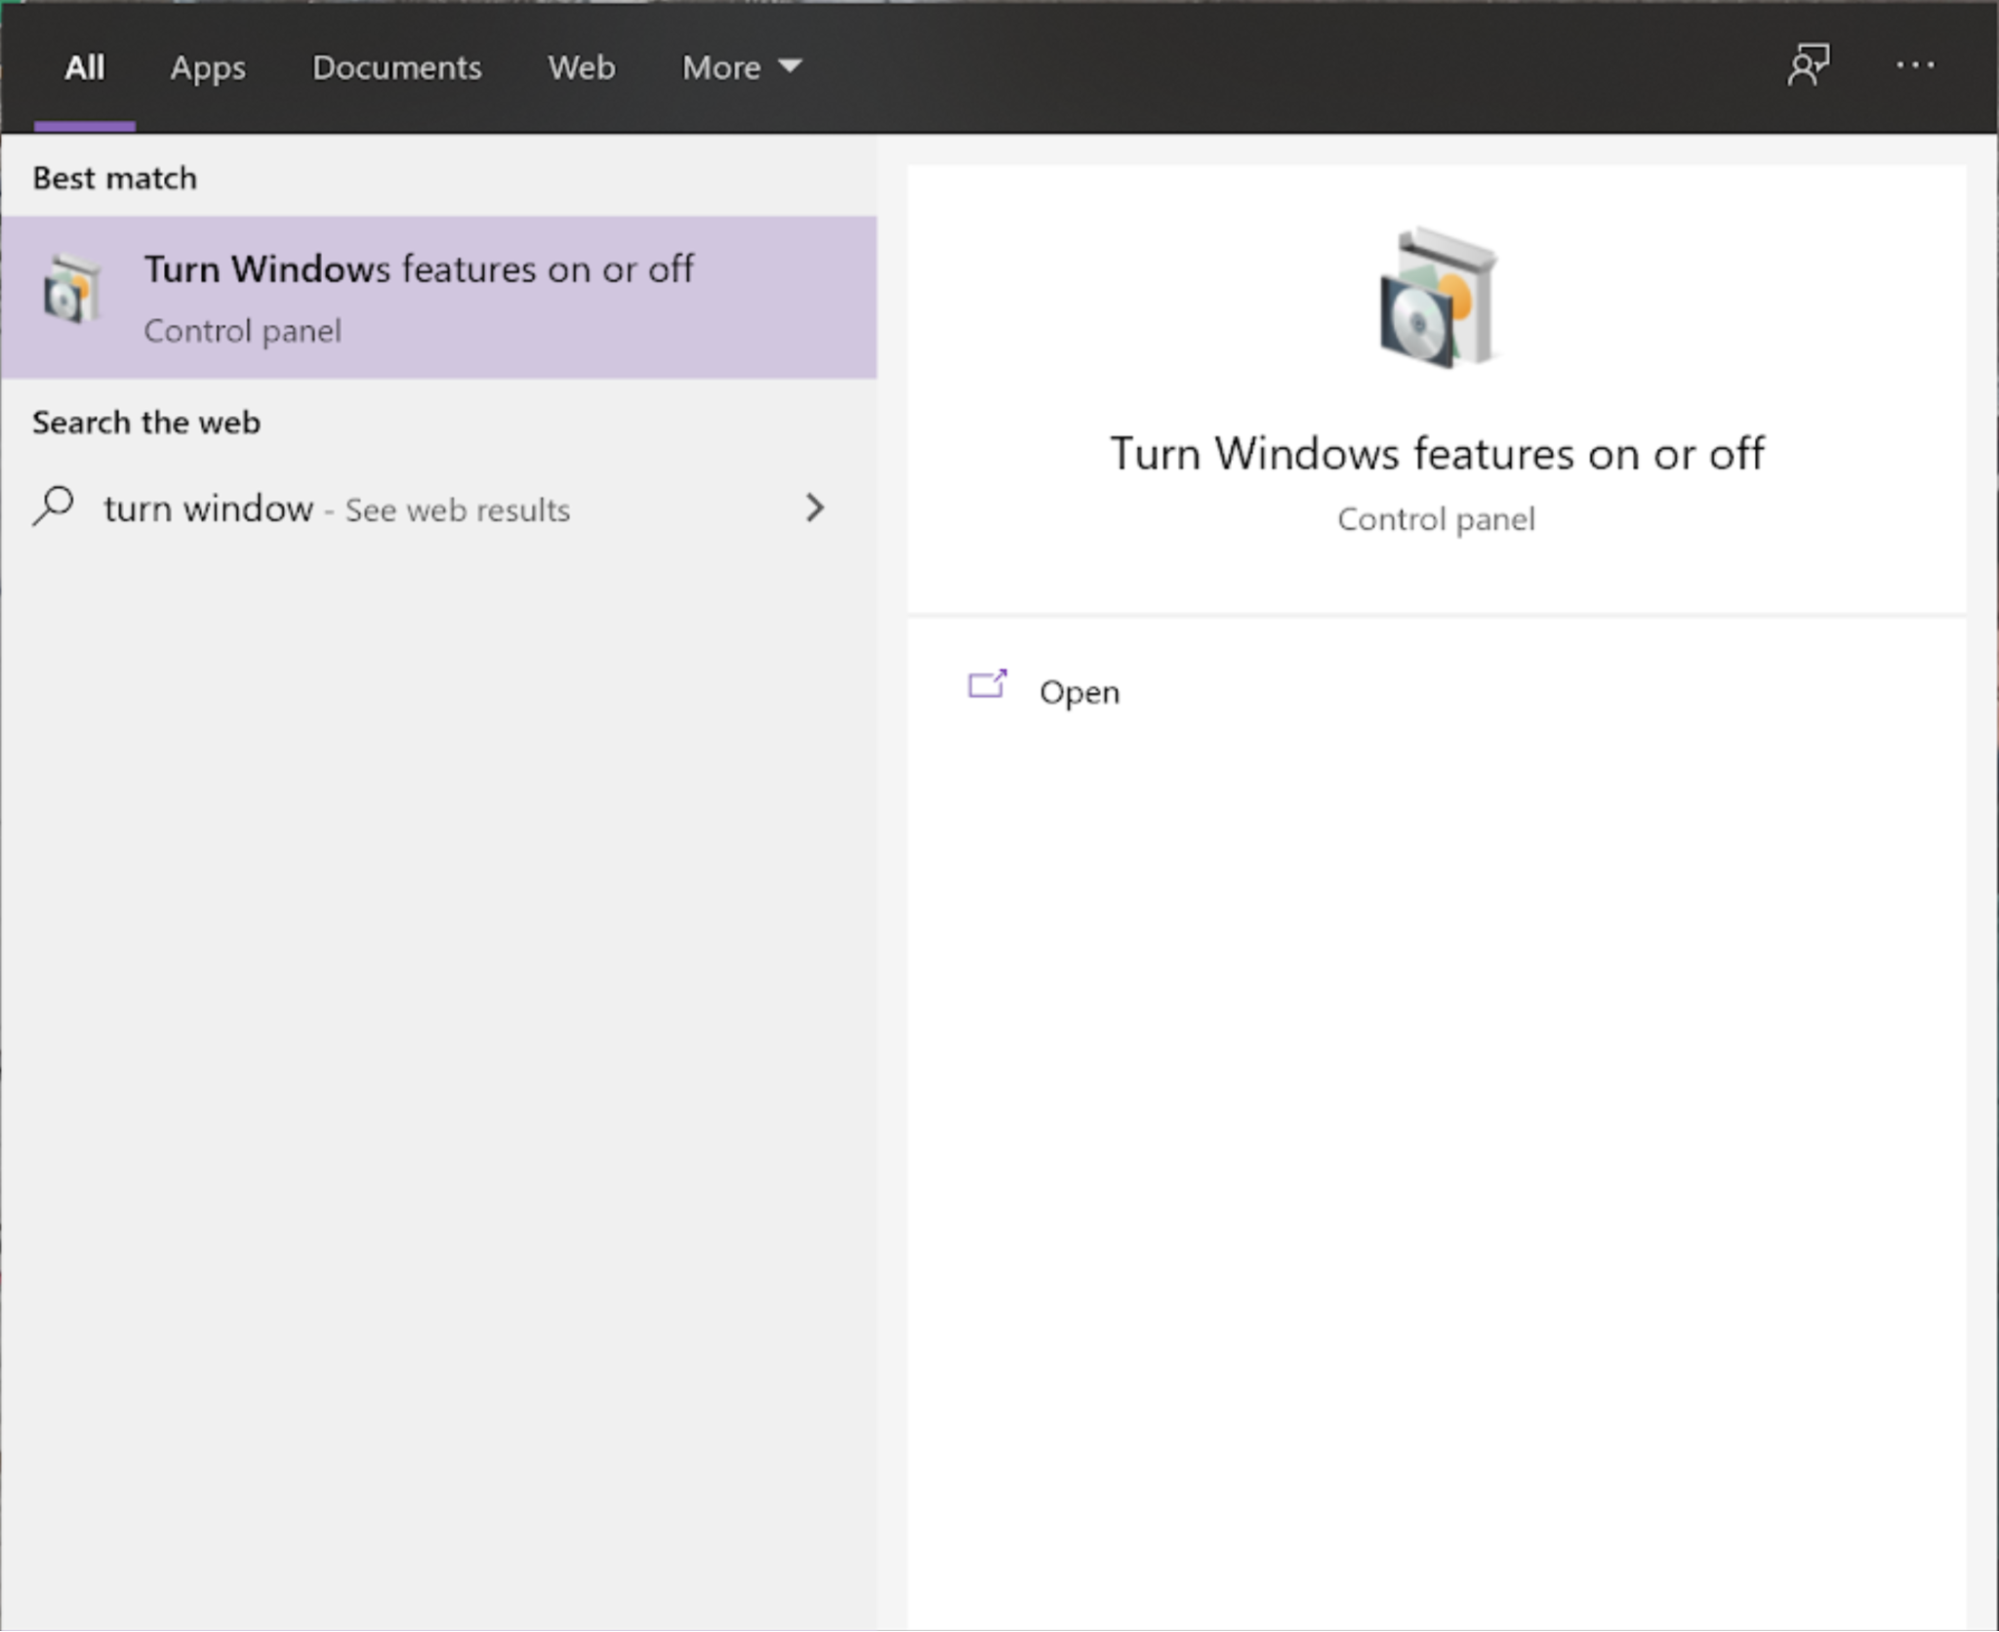
Turn on the “Windows Subsystem for Linux” by going to the Control Panel. In the search bar type in “Turn Windows features on or off” and click Open.
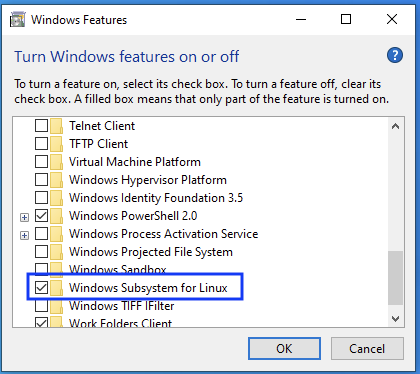
Scroll down to “Windows Subsystem for Linux”. Check the box, press OK and when prompted restart your computer.
Danger
You must reboot when prompted after pressing OK, or the following steps will fail.
Step 2. Download Ubuntu Terminal
Download the Ubuntu Terminal from the Microsoft Store:
Start the Microsoft Store app, or go to https://www.microsoft.com/en-us/p/ubuntu-2004-lts/9n6svws3rx71 in a browser.
In the search bar (upper-right) type: Ubuntu and hit return. You will have a choice of several versions; we suggest selecting Ubuntu 20.04 LTS. Click on the appropriate icon, taking you to the Ubuntu 20.04 App page.
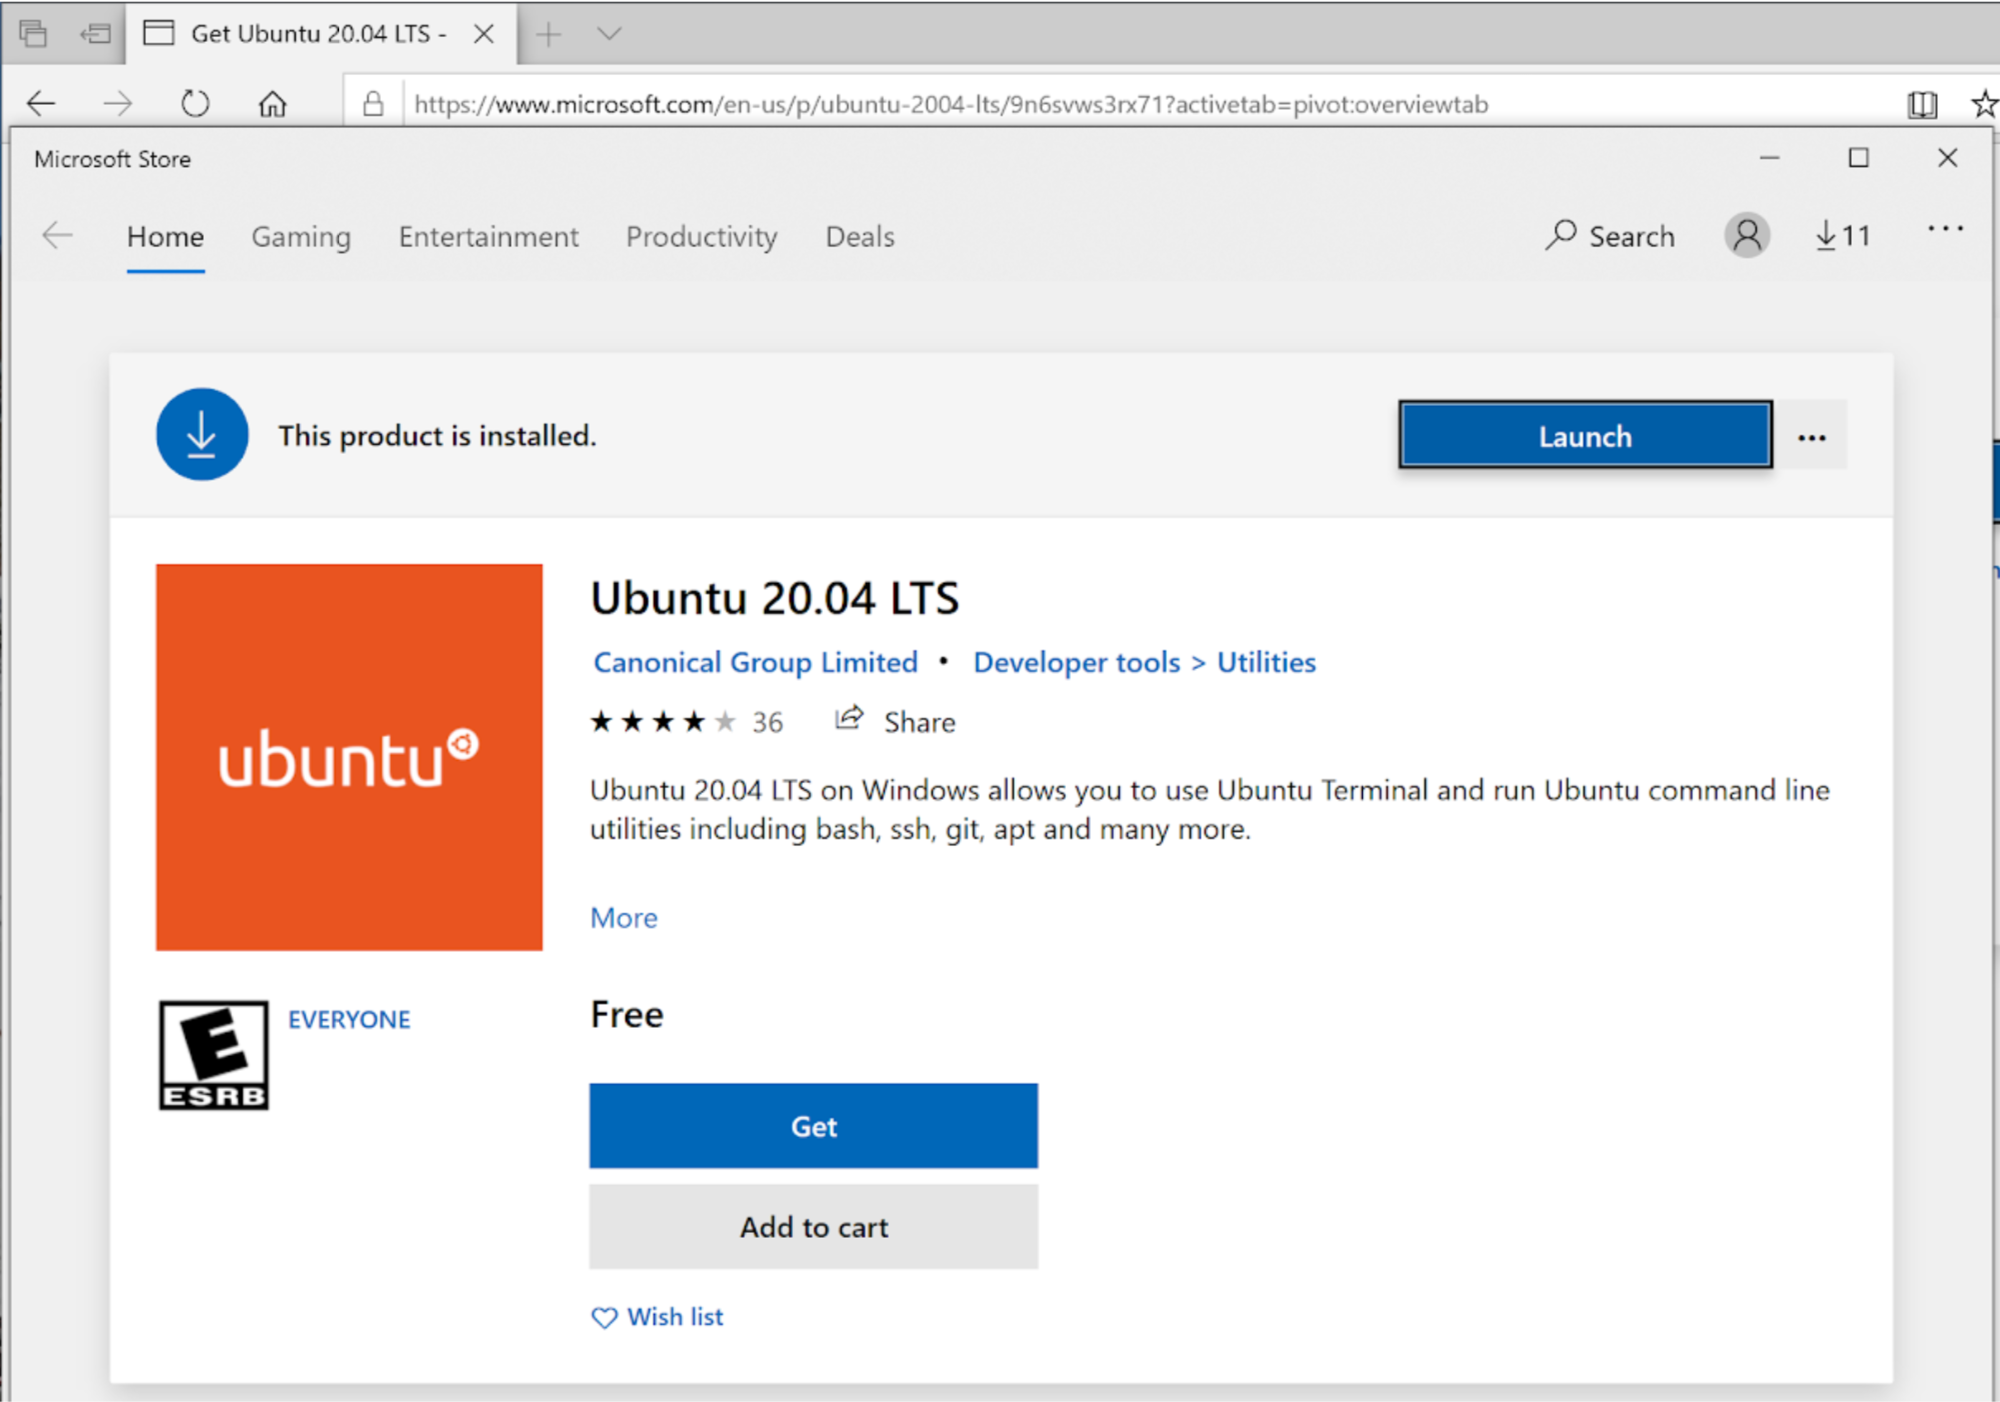
Press Get, and download the App. (If Microsoft asks you to create an account, you do not need one. Simply dismiss the window by pressing “No Thanks” or the X in the upper-right.) Press Launch to begin the install.
You will be asked to create a default Unix user account”.
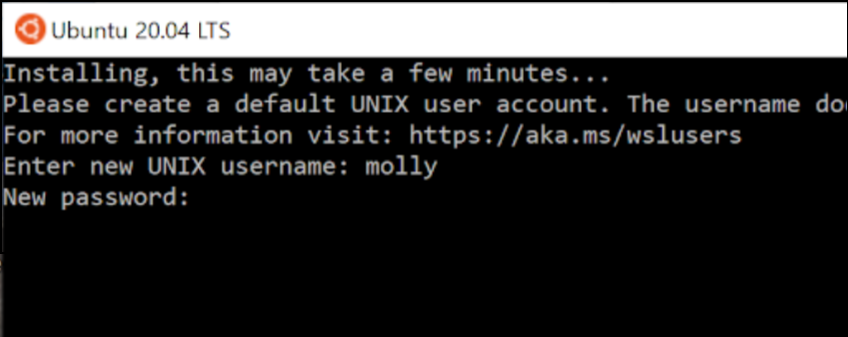
These are username/password credentials for accessing the Ubuntu part of the Windows operating system. Choose a username without spaces, and a secure password. It is your responsibility to remember this username and password. You will need to enter these credentials every time you wish to install new applications through the Ubuntu terminal. It may be helpful to use a different name than your Windows account name. We will refer to this identity as your “Ubuntu username and password”. You can read more about this identity and the Windows Subsystem for Linux, in general here.
Once the Ubuntu terminal is installed, we suggest you pin the Ubuntu app to the Taskbar for easy access: right-click on Ubuntu’s Taskbar icon and select “Pin to taskbar.”
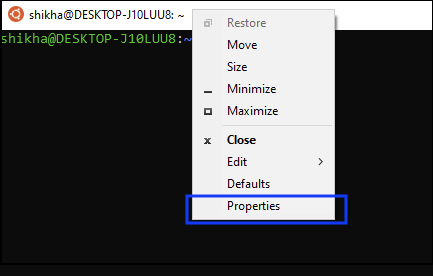
We also suggest that you turn on the copy paste feature. This will allow you to copy paste text between the Windows and Ubuntu parts of your machine. You can do this by right clicking in the Ubuntu terminal, and go to Properties:
Then select “Use Ctrl+Shift+C/V as Copy/Paste”.
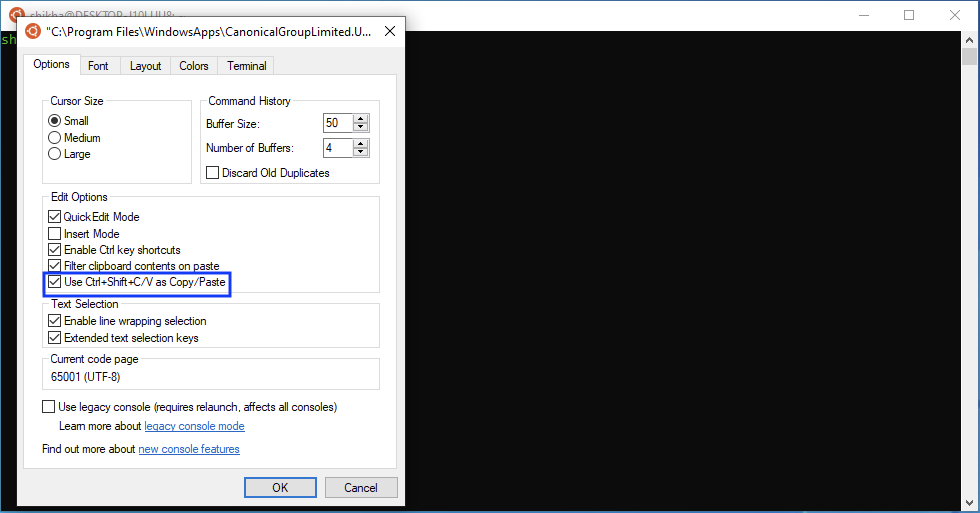
Remember that
Ctrl+C(copy) andCtrl+V(paste) are the shortcuts you should use when in Windows, andCtrl+Shift+C(copy) andCtrl+Shift+V(paste) are the shortcuts you should use when copy pasting text in the ubuntu terminal.
Step 2. Establish your CS credentials
Computer Science runs its own network of servers, with access limited to students with CS “credentials”. These credentials will be sent to you via email (with the Subject Line “Williams Computer Science Account Information”), and you are expected to change your password by following the instructions in that email. Notice that your CS username is slightly different from William’s username. Sharing your CS credentials with others is violation of the Honor Code.
To verify your credentials, type the following into the Terminal at the $ prompt, replacing
your-username with your CS username.
ssh your-username@lohani.cs.williams.edu whoami
You may get the following message back:
The authenticity of host 'lohani.cs.williams.edu' can't be established.

  ECDSA key fingerprint is ....

  Are you sure you want to continue connecting (yes/no/[fingerprint])?
This is normal whenever you access a machine for the first time. If this happens, type yes, and press return/enter.
You will be asked for your CS password: provide it. Note that for security reasons, you will not see anything you type (or the keyboard cursor move). After you enter, if the server prints out your CS username, then your credentials are working correctly. If you have trouble with establishing access, please email csaccounts@cs.williams.edu.
Step 3. Configure Git
Git is installed with the Mac operating system. It may, however, need to turn on various programming features on the Mac. In the Terminal window type:
git --version
It should report a version of 2 or later.
Next, you should configure git with your email and username. Execute
the following commands in the Terminal, replacing your-williams-id@williams.edu with your Williams email address
and your-CS-username with your CS user name.
git config --global user.email 'your-williams-id@williams.edu'
git config --global user.name 'your-CS-username'
git config --global push.default simple
git config --global pull.rebase false
git config --global core.editor nano
Step 4. Download Python Packages and Utilities
Ubuntu comes with python3 installed, but it is worthwhile getting the latest available version.
Run the following command in the Ubuntu terminal, and provide your Ubuntu pwd when prompted. It may take a few seconds to update.
sudo apt update
Now execute the following command. If prompted if you want to continue, type
Yto approve the upgrade downloads. This brings your Ubuntu software up-to-date. This may take a few minutes, and is worthwhile.sudo apt upgrade
For installing the Python package manager,
pip3and an application to open.psand.pdffiles through Ubuntu, execute the following command in the terminal. This application can be used to open a file such asexample.psby running the command thegv example.psin the directory containing that file. This will come in handy when we write programs that generate such files.sudo apt install python3-pip python3-tk ghostscript gv
Now that
pip3is available, we can use it to install Python packages that we will need this semester. Run the following installation commands:sudo pip3 install jupyterlab sudo pip3 install matplotlib
Step 5. Install Atom
You need to install Atom as an editor for your programs on the Windows side of your computer.
Download it from
https://atom.io/.
Step 6. Setup CS134 Folder and Clone the Lab 1 Repository
Now are you ready to create your CS134 directory on the Ubuntu part of your laptop. Unix directories correspond to folders in your Mac or Windows oper- ating system. You will be creating many files on your computer for this class. We suggest that you put all of your work in a single folder, called cs134, located in your home directory. You can navigate to your home directory from within the Ubuntu terminal as follows:
Open the Ubuntu terminal, and run the command pwd (print working directory). This tells you where you are in the Ubuntu filesystem.
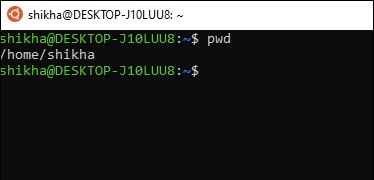
As you can see above, by default you will be in the home directory under your username. This is a good place to create your new cs134 directory.
You can do this by using the command
mkdir cs134(short for make directory). Now if you run the command ls to list the contents of your current directory, you should see the newly created cs134 folder.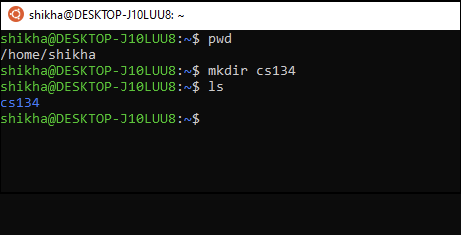
We can navigate into the folder by running
cd cs134(short for change directory). Since this is an empty folder right now, if youls, it will not show any contents.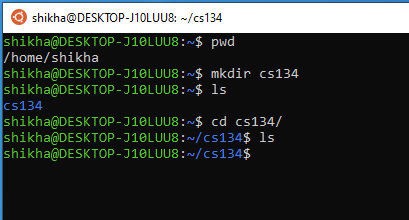
Now that you have created your cs134 folder, this is where you should always navigate to before you clone all your lab files.
To ensure that git can securely connect to the CS server, execute the following commands in the Ubuntu terminal:
curl -k https://www.cs.williams.edu/~cs134/evolene.pem -o ~/cs134/evolene.pem
git config --global http.sslCAInfo ~/cs134/evolene.pem
The above command downloads the certificate for evolene and ensures that git uses it whenever we exchange information with the server. Do not change or move the file
evolene.pem, or you will find you will no longer be able to connect to the server.Now we are ready to clone a test repository from Evolene. To clone you repository, type the following command, replacing
22xyz3with your CS username.git clone https://evolene.cs.williams.edu/cs134-labs/22xyz3/lab01.git
Here,
evolene.cs.williams.eduis the full name of the git server dedicated to holding our collective work. Thecs134-labsreference is the CS134 lab directory on that server, andlab01.gitis the name of the repository holding the starter files. It is the folder that contains all of your repositories on the server. You will be asked for your CS credentials. You can now check that the folder has been created by running thelscommand.
Step 7. Explore Your Repository
Use the command
cd lab01to navigate into the folder and explore its contents. Runlsto list the files that have been downloaded. You should see the filesAboutMe.txt,GradeSheet.txt,README.md, andhello.py.Whenever you begin a session of work, you should make sure you get the latest copy of your work. This is called pulling the repository from the server. You should:
git pull
Since we just cloned the repository, it’s unlikely that anything is out-of-date. Still, we always perform this simple check.
Before continuing with Lab 1, we need to tell you how to open a file like
hello.pyusing Atom. First, inside your terminal, type the following command to open a Windows Explorer Window showing the contents of your “home” folder:cd ~ explorer.exe .You should see your
cs134folder inside that new window. You can now run the following command in the terminal to return to yourlab01directory:cd cs134/lab01
You can drag your
cs134folder and drop this folder to the “Quick access” pane on the left so you have easy access to it in the future:
Now, open that folder, and then the
lab01folder inside it. Click onhello.pyto edit it. You may be prompted to choose an application: select Atom and make it the default for.pyfiles.
Back to Lab 1!
You’re ready to begin programming. Please continue with the Hello and Goodbye exercise from Lab 1.