Programmer’s Toolbox
Contents
Programmer’s Toolbox
Just like biologists and chemists have microscopes and beakers, computer scientists have our own set of tools for programming. This document gives an overview of the tools we will be using as part of CSCI 134. They are already installed on the CS lab machines. For a guide on how to install and set these on your own machines, refer to the Mac OS setup guide, Windows OS setup guide.
 Python Programming Language
In CSCI 134, use the Python programming language (version 3.9 or above). One of the main benefits of Python is that it is an interactive language: in lecture and office hours, we will often open up the Python interpreter, or “interactive Python” which lets you enter simple Python commands as input, and gives you an immediate output. Interactive Python is great for testing out small snippets of code, almost like having a “calculator” for your code. Of course, for longer pieces of code, we need to write our program as a script, for which we need a suitable editor.
 VS Code Editor
Just like Microsoft Word or Google Docs are text editors, we need an editor tailored for writing computer programs. We will use an editor with a GUI (graphical user interface) called VS Code. There are a dizzying array of choices for you to experiment with as you become more comfortable with programming.
VS Code has a simple user interface. When you open it, it should look something like this:
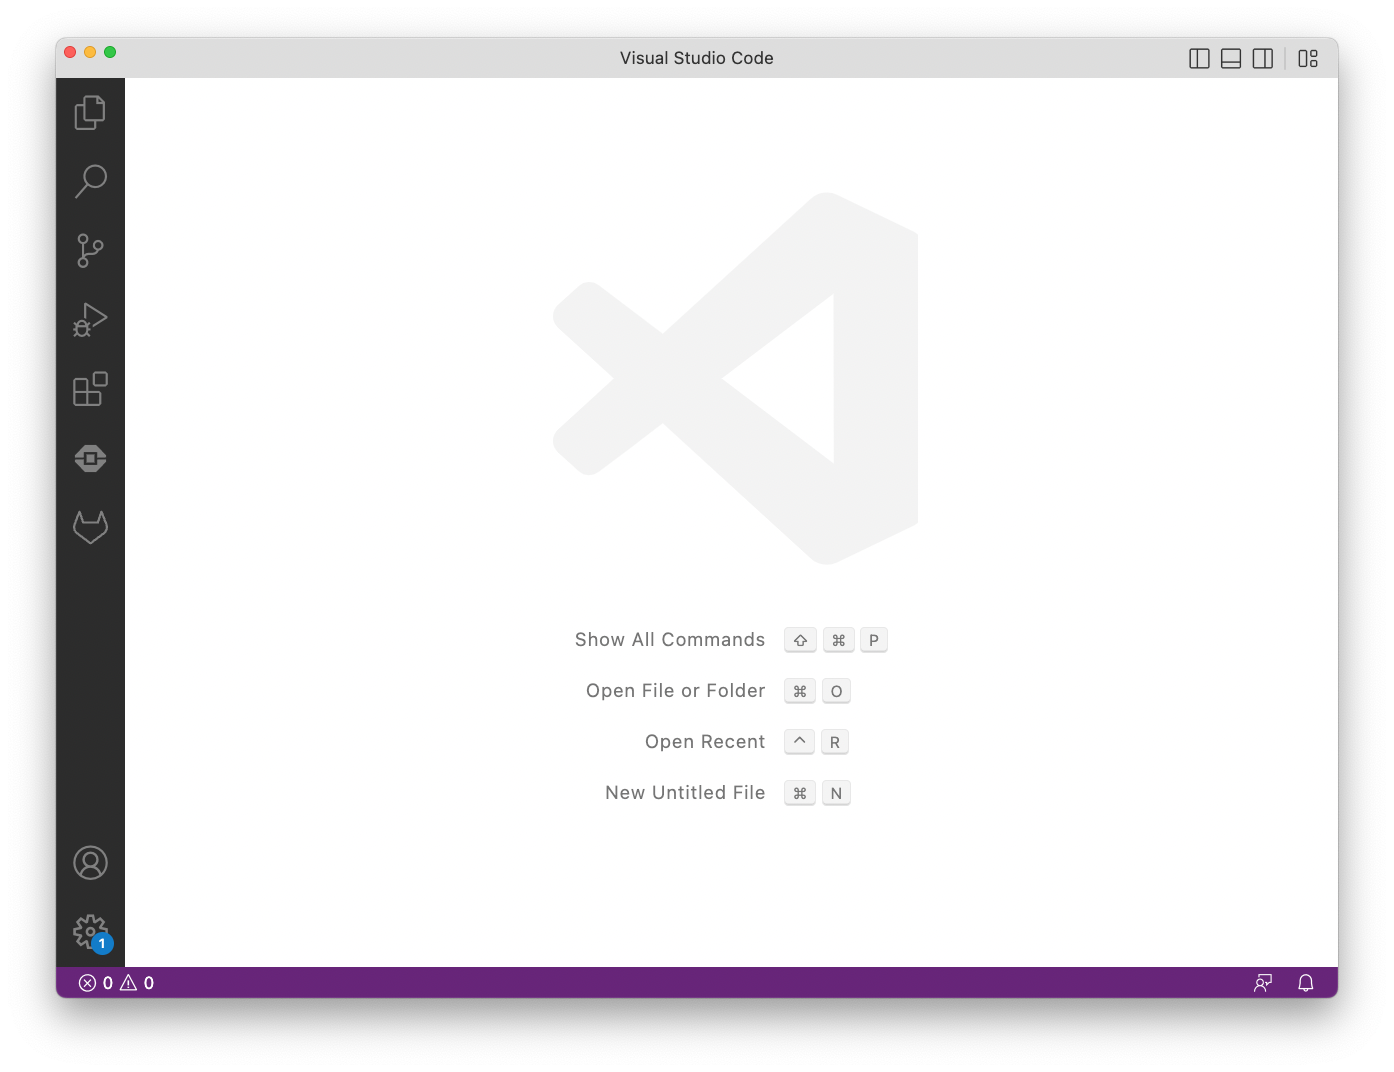
You can close all the extra tabs, and navigate to “New file” or “Open” from the File menu on the top left, just like you would with other editors.
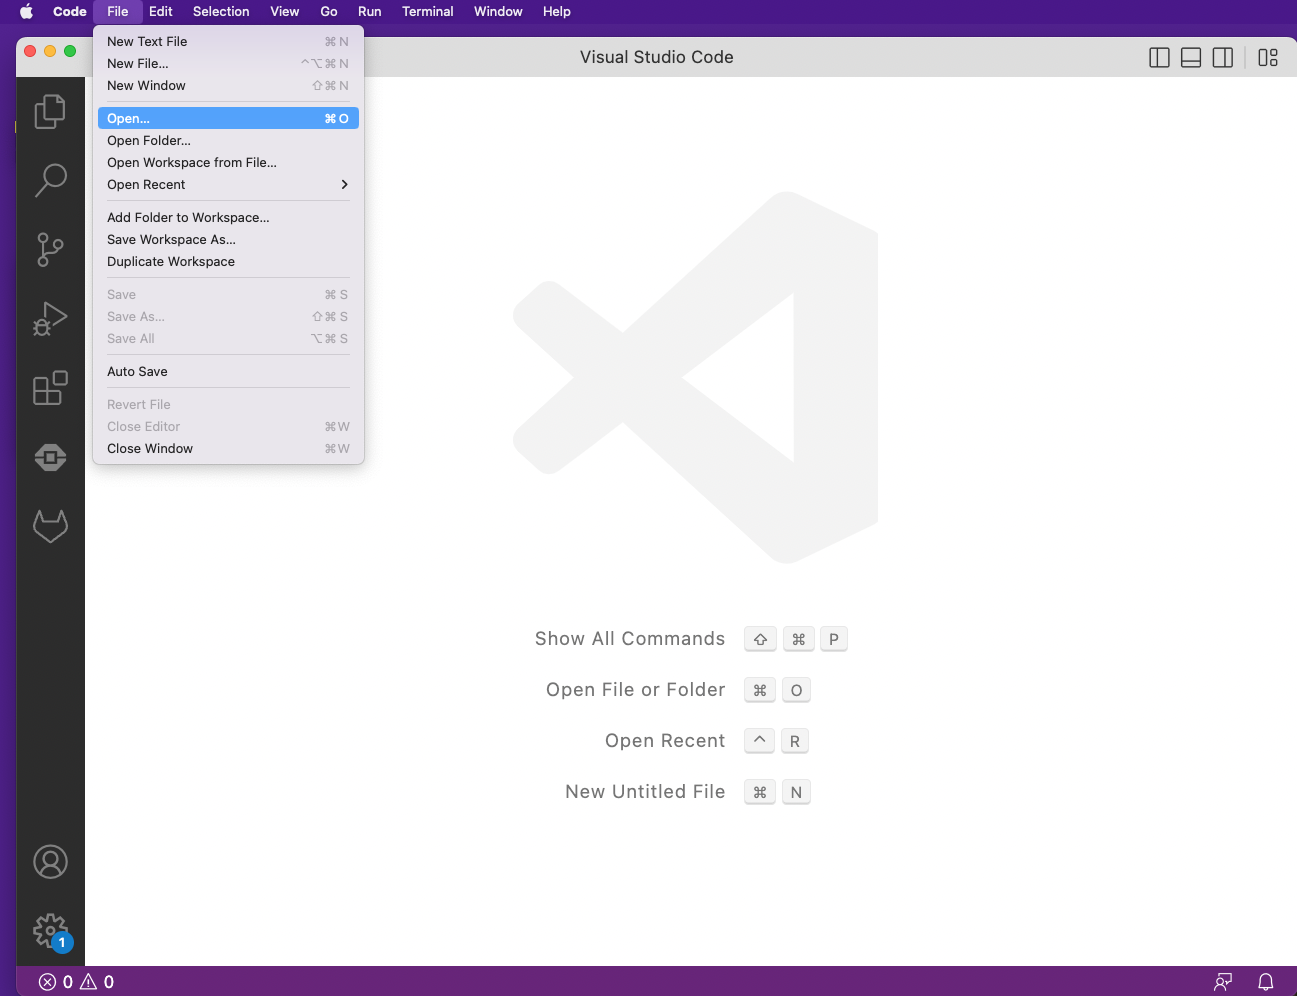
You can create a new file and add a simple Python script: print(“Hello World”)
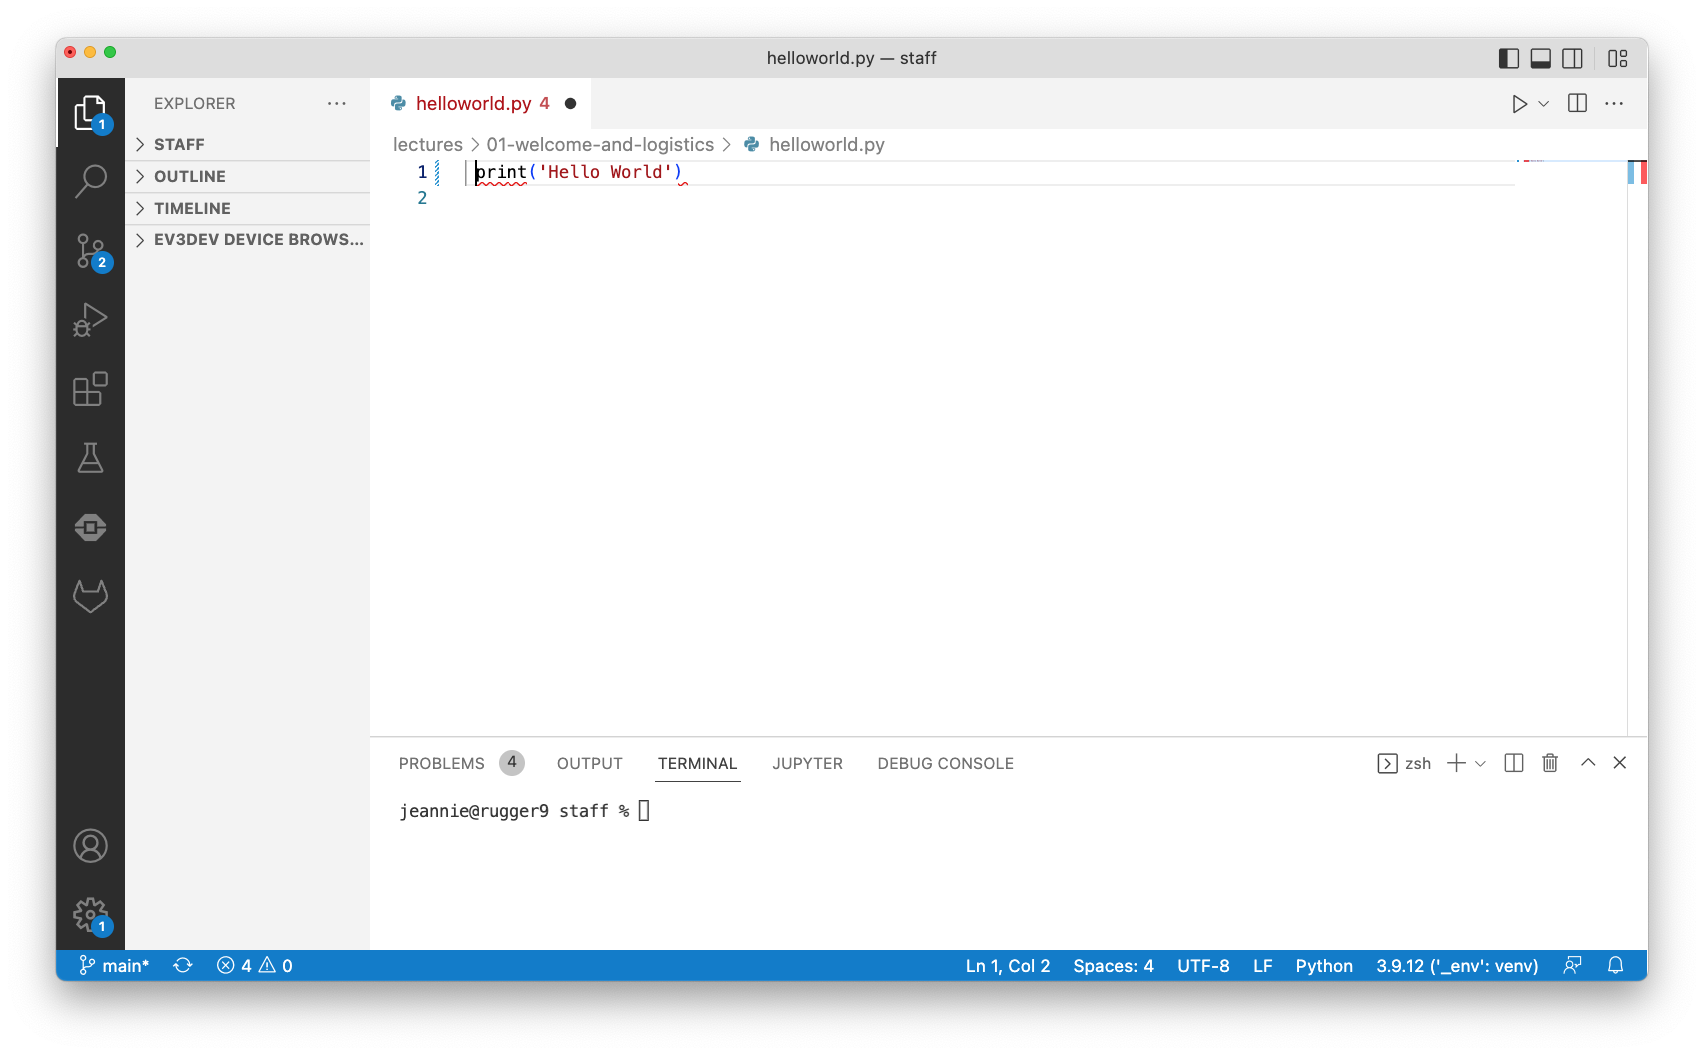
Save this file as helloworld.py (the extension .py tells your
computer that this is a Python script). Now you have written your first Python
program!
How do we actually execute this program (and get it to print out Hello World to our screen)? This leads us to our next tool: the Terminal.
 Terminal
We need an interface to communicate with our computer and issue “commands” in text format. Command-line interfaces provide this for us. These are sometimes referred to as a terminal or a shell, often called bash in Unix based operating systems such as Mac or Linux. Inherently Windows has limited support for such shells. You can work around this by using the built-in Terminal in VS Code (just select Terminal->New Terminal from the menu), or by using the “Git Bash Shell” as explained in the Windows setup document.
We will use the Terminal to execute our Python programs. Moreover, we will learn simple commands to navigate the files in our computer using this shell.
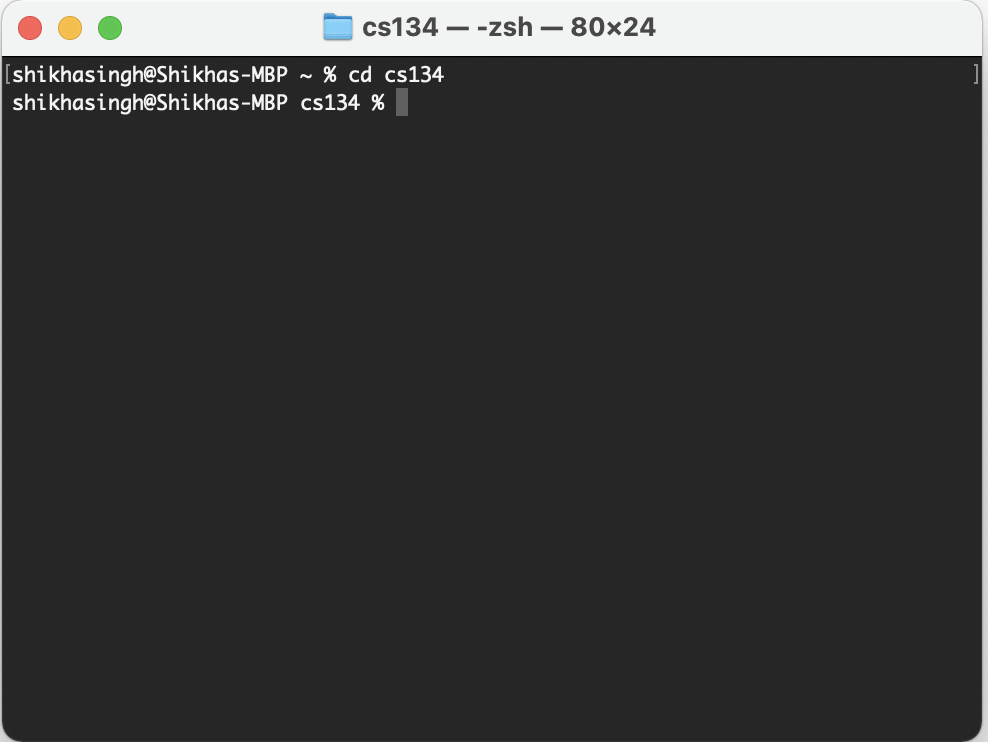
Once you open the Terminal, it looks something like this:
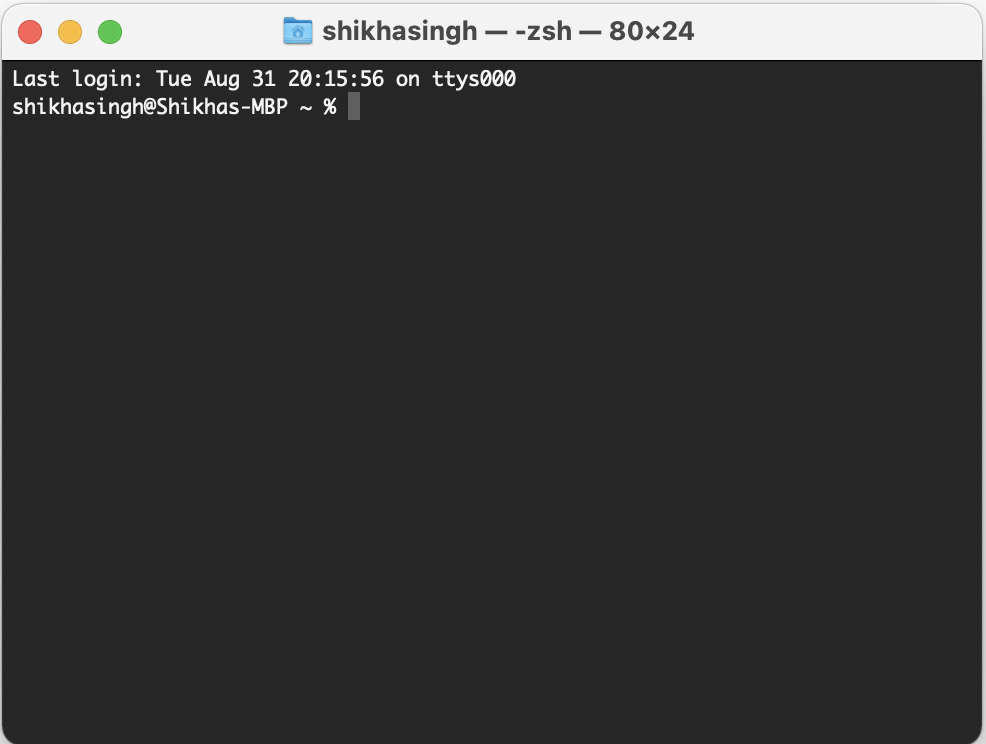
We now need to navigate to the folder where we stored our helloworld.py
file. Suppose you stored it in a folder called cs134. You can navigate
to your cs134 folder by typing cd cs134/ (which is short for change directory to cs134).
You can “list” all the files in this folder by typing the command ls.
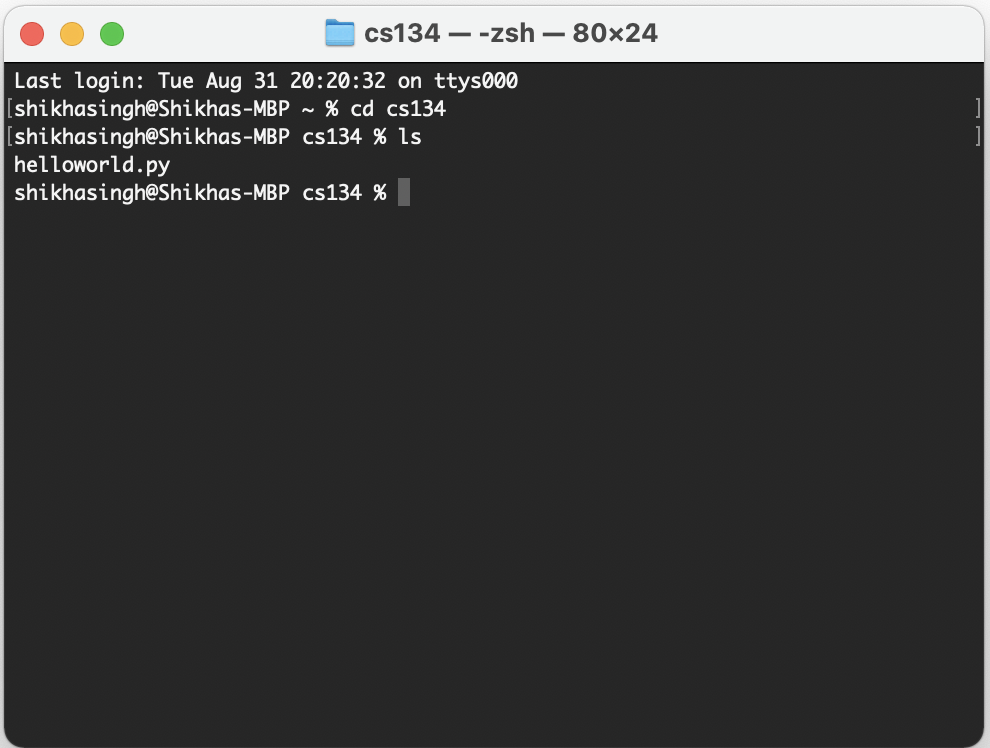
Here it shows that we only have one file helloworld.py in our cs134
folder.
Now it is time to execute our first Python program: we can do this by
typing python3 helloworld.py and pressing Enter/Return.
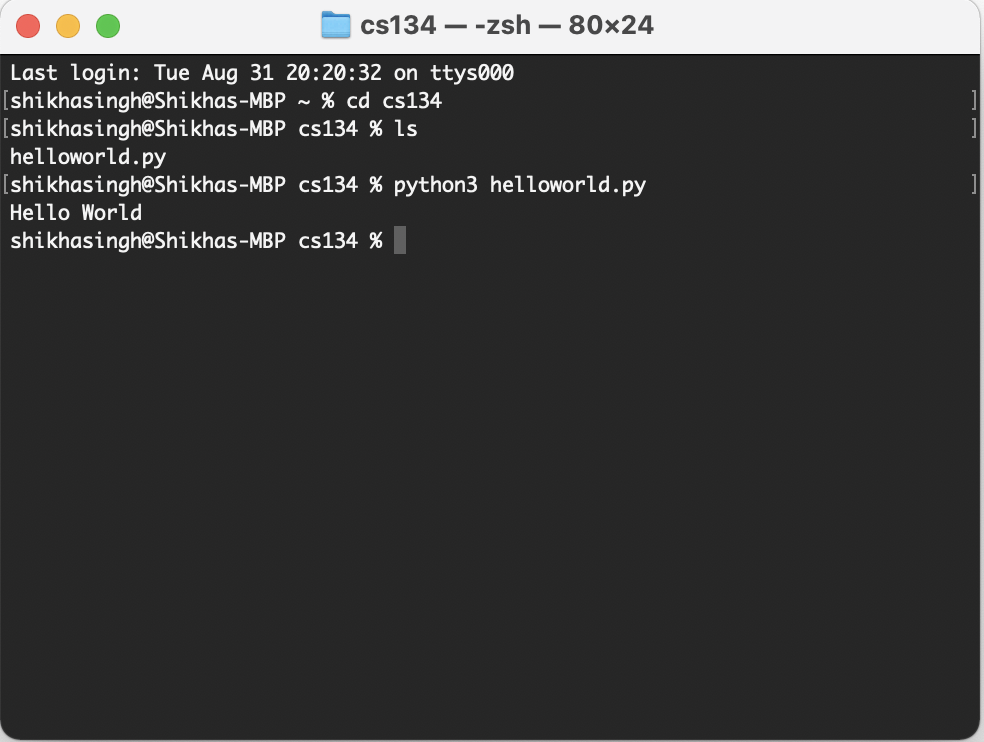
Voila! We asked our computer to print the text “Hello World” and it did! Congratulations on writing your first computer program. While this may not feel like much right now, we can use these same tools to do some pretty incredible things.
 Git Version Control System
Git is a professional “version control” tool that lets you keep track of your work. In applications like Google Docs, we don’t worry about losing our work because it automatically “saves” it for us in the background, and maintains old versions of our work if we need to revert to them. Keeping track of previous versions is also important when programming, and we can do that using Git.
The high-level git typical workflow for a lab assignment is explained below. For each lab assignment, we post “starter code” which is just an outline for the program you will write for that assignment.
To start, you type
git clone URL, whereURLis the url for your starter repository for the lab on our server, a machine called evolene. This command just creates a copy of the starter code on your machine. You will need to enter your CS username and password when you clone a new repository.As you edit the starter code, it is good practice to periodically snapshot your code. This is accomplished by first adding each edited file via
git add filenameand then committing the file viagit commit -m 'message'.Finally, after adding and committing any modified files, you should update the server with edits by typing
git push. In particular, any time you reach a stopping point (such as the end of lab), you should always add, commit, and push your work. This ensures the most up-to-date copy of your work always lives on evolene (our server) and not any particular machine.Whenever you are ready to resume your work (on a machine that you’ve previously worked on), you should first
git pullyour work from evolene to ensure you are starting on the most up-to-date version. Note that if this is the first time you are using a machine for this lab, then you need to start by doing agit cloneof your lab repository first.
 Jupyter Notebooks
Finally, we will be using Jupyter Notebooks as a teaching tool in the course. Jupyter notebooks allow us to have a rich web-based interface to run interactive Python examples. They are also widely used as a professional tool to communicate in fields such as Data Science.
How to read Jupyter Notebooks. Typing a command in a ‘In[]’ cell in a Jupyter notebook is the same as typing it in an interactive Python session. The ‘Out[]’ cell of the notebook gives the resulting output. Thus, Jupyter notebook is essentially an enhanced way to use interactive Python: it stores code examples that can be executed live and are rendered in a rich format.
Learn more about installing and using Jupyter Notebooks. You may view the static notebook from class as an htmlfile, but if you would like to run the examples dynamically, see the How To Use Jupyter Notebooks guide.