In all of the following, keep in mind that there's rarely just one way to do things. I'll give you hints and pointers, but you needn't take those to be the single canonical way to achieve the desired result.
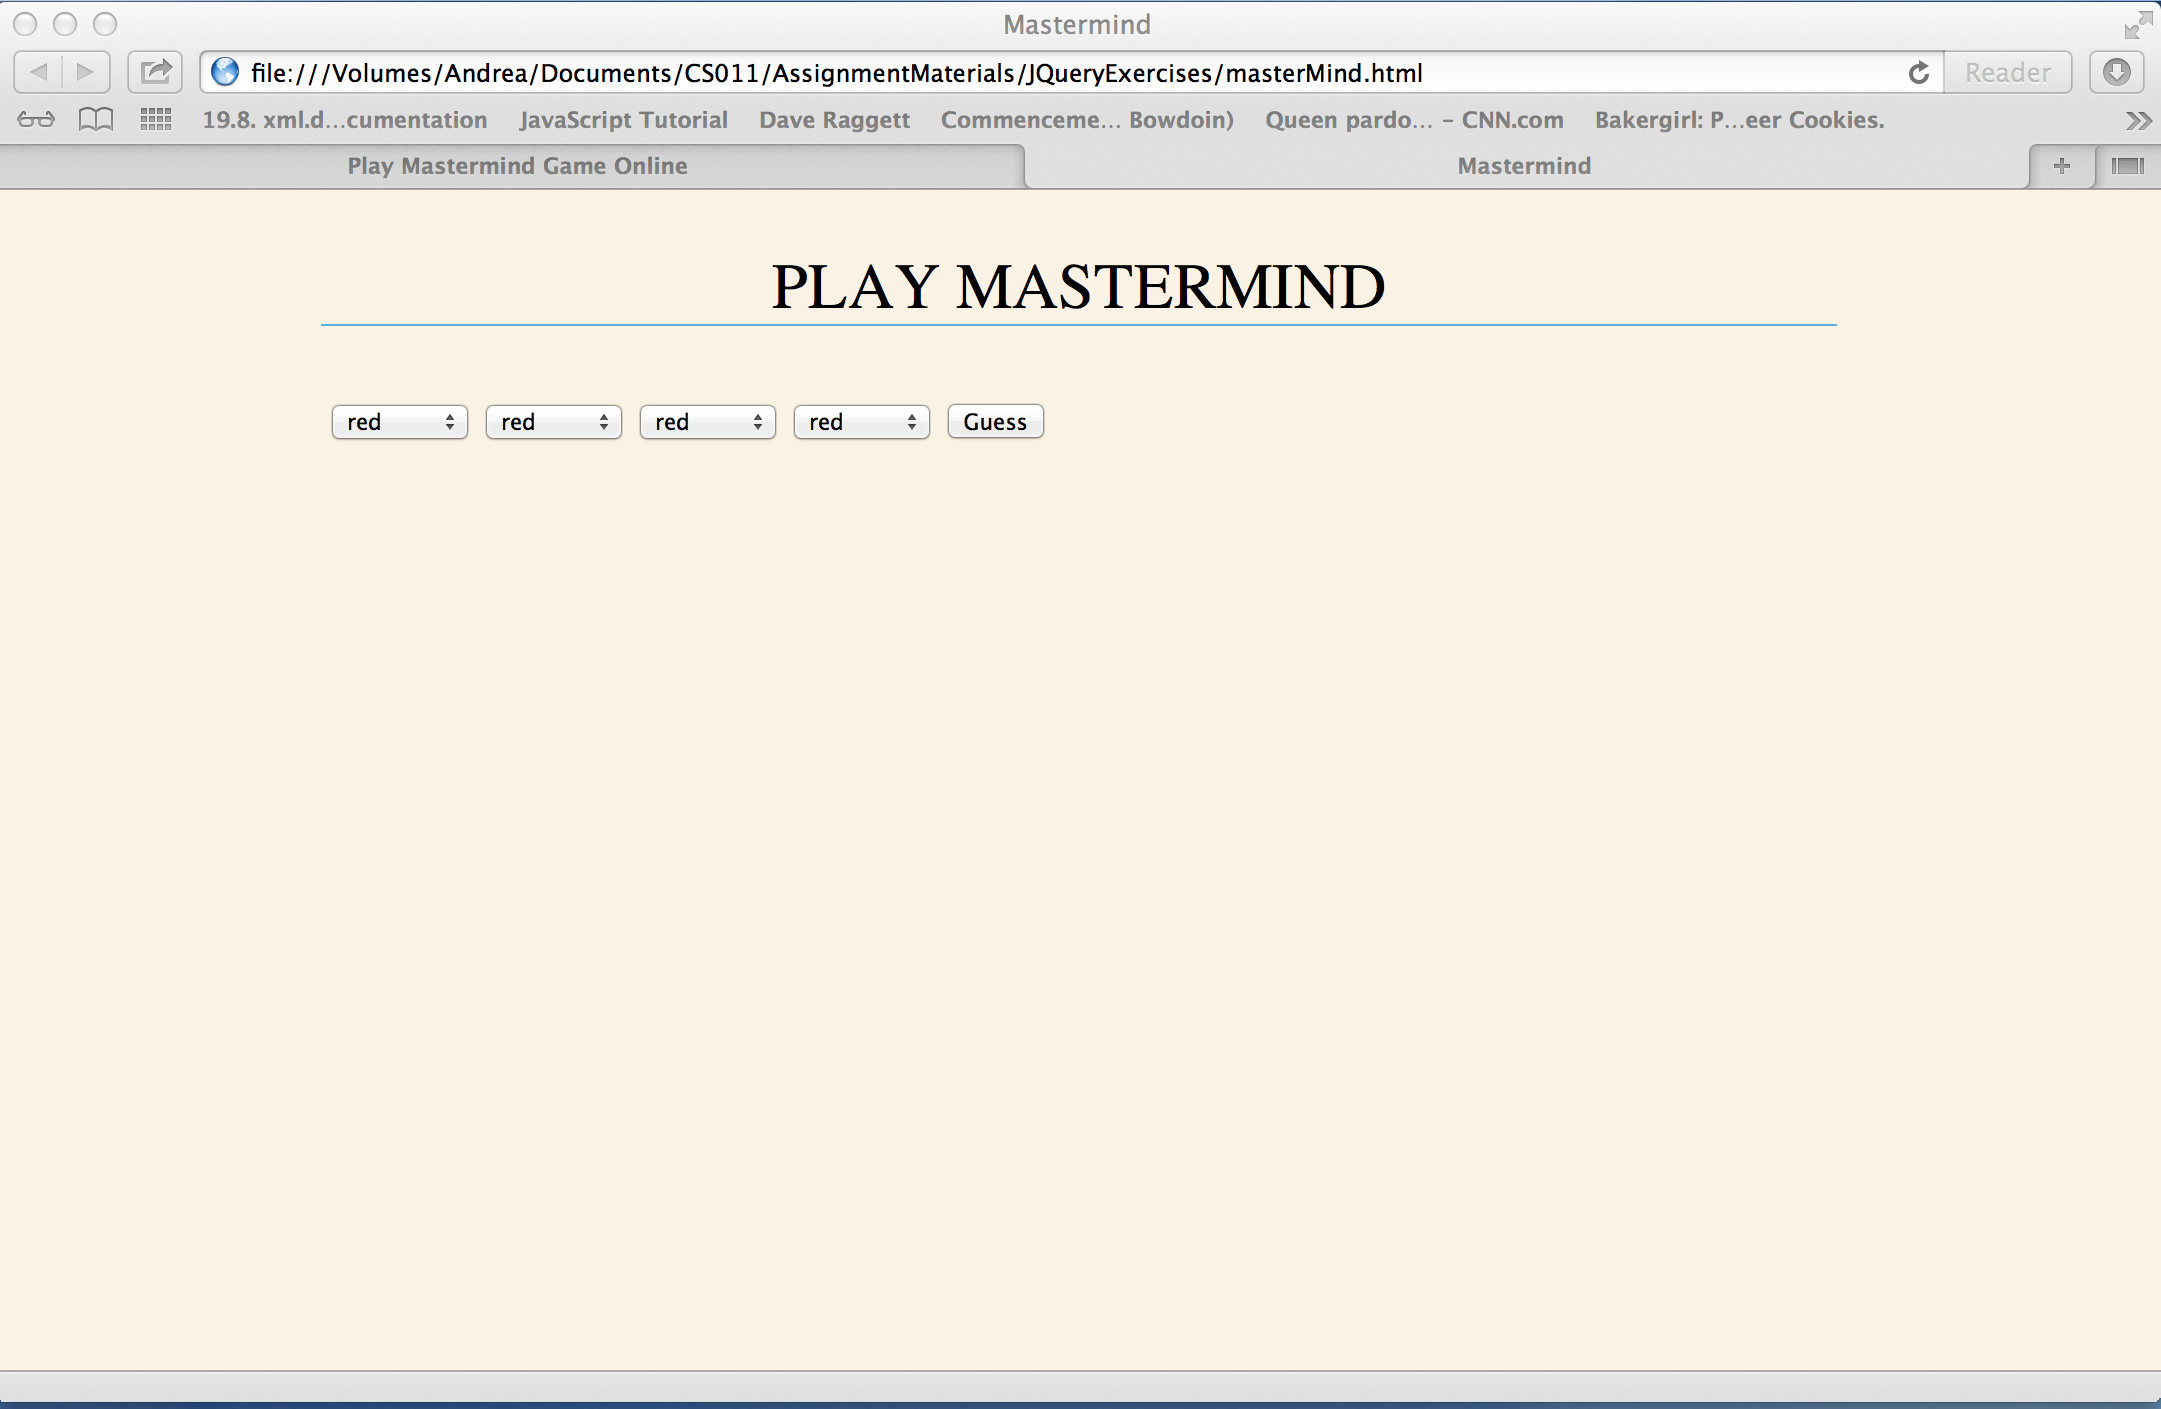
Step 1: Our interface will allow the player to select colors from four menus, as show below.
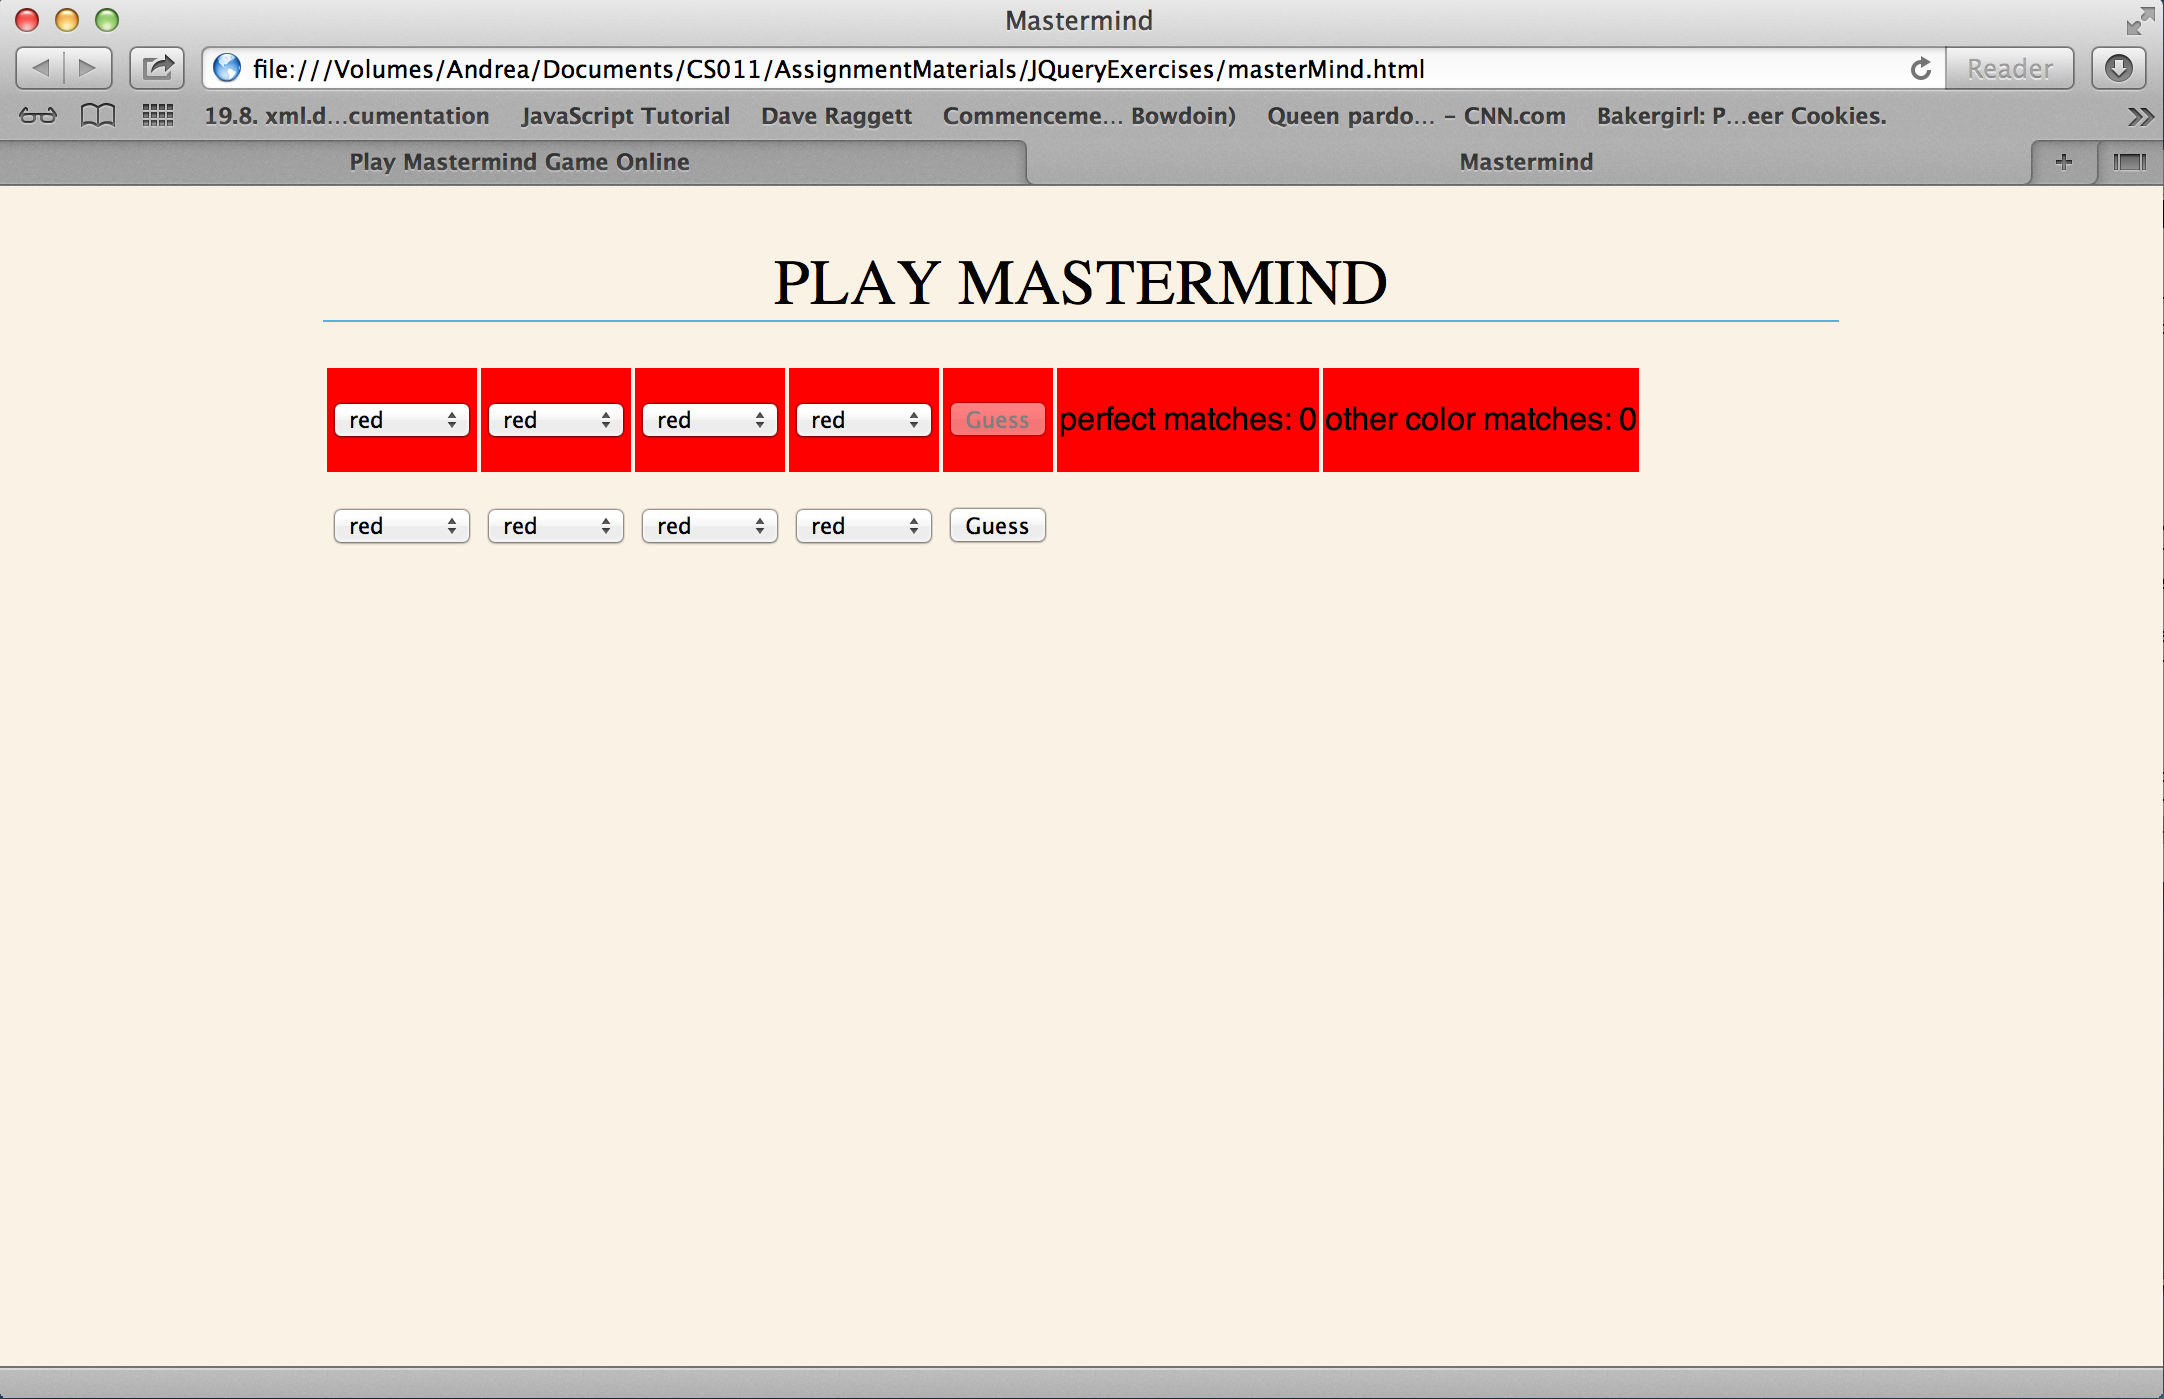
For each guess the player makes, they should receive feedback on their guess and a new row of menus should be added below the current one, so that the user can guess again, as in the following picture.
As many of you noted in lab, as the game proceeds, the rows of menus form a table. So begin by creating a table with a single row containing two menus. (Yes, there will be four menus in the end, and you can create them now if you want, but you can also do substantial testing with just two menus and add the others later.)
Menus can be created by building <select> elements in html and specifying their options.
<select>

<option value="red">red</option>

...

</select>
and tables are created by building <table> elements.
<table>

<tr>

<td>

a color menu will go here

</td>

<td>

a color menu will go here

</td>

</tr>

</table>
As you may have guessed, the tr element is a table row, and a td element is a table cell. Make sure you have all eight colors (red, blue, yellow, green, orange, brown, black, white) in each menu.
Step 2: Now create a <button> element and make it an entry in the same row as the menus.
<button type="button">Guess</button>
Once you have the button, write code that will handle the button click. At this point, simply get the values (using the val() method) that are currently selected in the menus. Of course you want to be sure that you're really getting the values and not just thinking you have them. So write an alert that will display the values so you can check them. Though I didn't say it above, you'll obviously need to make sure that the menus' select elements have ids or classes and that you can distinguish among the menus. There will be many places where ids or classes will be useful. I will mostly leave it to you to determine where that would be.
Also keep in mind that it's good practice to wrap your JavaScript in a $(document).ready so that you can be sure the DOM is all set before your JavaScript needs to execute.
Step 3: Now it's time to make the button a bit more useful. Once you have the colors from the menus, check how many match their goal colors exactly. Our target colors will be yellow, orange, blue, and white. Once you've determined how many of the player's choices match, add an entry to the row of the table that gives them that feedback. You'll have to give feedback on the number of "other colors" that matched but weren't in the right spot, but you can go back to that later.
Step 4: Feedback is great, but you also need to let the player make another guess. This will take quite a bit more work. First, you'll need to add a row to the table. This row should look and act like the one above it did at the beginning of the last guess. So you can start by cloning (use .clone(true)) the current row and appending the new row (e.g., with appendTo) to the table. (Hint: it will be helpful if the row you're cloning has an id -- perhaps something like currentRow.) Of course, when you clone the row, you also get the feedback information from the previous guess, so you'll need to get rid of that in the new row. Don't worry about turning anything red as I did in my implementation. I'll say more about that shortly.
Step 5: Try clicking on the Guess buttons. Do they seem to work properly? Probably not. First of all, you don't want the player to be able to click anything but the current Guess button. So disable the previous one. Remember from class (see Lecture 3 notes) that in css you can specify an element in the context of others. You can do the same with jQuery. If I have a button in the "guess" class that's in the table row identified as "currentRow", I can say
$(#currentRow .guess)
Also, keep in mind that an id (though a special sort of attribute) is just an attribute of an element. So you can change it (i.e., you can give something a new id). And you can remove it, if you no longer need it (using, say, the removeAttr jQuery method).
As I was doing my own testing, I decided to make the background of each row red as it became a non-current row. In the end, I left it, because I thought it made the progression of the game clear. You can include this or not. In fact, you'll notice that I haven't really specified any style attributes (colors, fonts, sizes, etc.). Here I wanted to focus on JavaScript (and jQuery). If you'd like to make it look better, go for it.
Step 6 OK, you're in the home stretch now. That last step was the hard one. You can now add the additional two menus as well as the code to check the number of inexact matches (i.e., number of other colors correct but not in the right place).